We are SUPER proud of this
For quite some time, I have owned this KitchenAid Stand Mixer. I was fortunate enough that my aunt didn't use it, so she gave it to me stepmom…who also didn't use it. Therefore, it became mine.
The mixer is an older model of the one you can get at Bed Bath and Beyond for $450.00. Needless to say, I made out like a bandit. The only problem with it was, it was ugly. It was just this plain, eggshell white that had spots where the paint had started to chip away. The white paint was starting to yellow and it showed dirt TOO EASILY. Now, I love when people show off their stand mixer on their kitchen counter. I also drooled over the brightly colored ones I see at the store and wished I had a pretty mixer that I could be proud of. Then, we had an idea. Why don't we see if anyone has tried repainting their KitchenAid? It seemed like an easy enough task.
Turns out, someone did. Actually, quite a few people did! We ended up following along with Kelsey from Little Bits of… and got started on painting our own KitchenAid Stand Mixer!
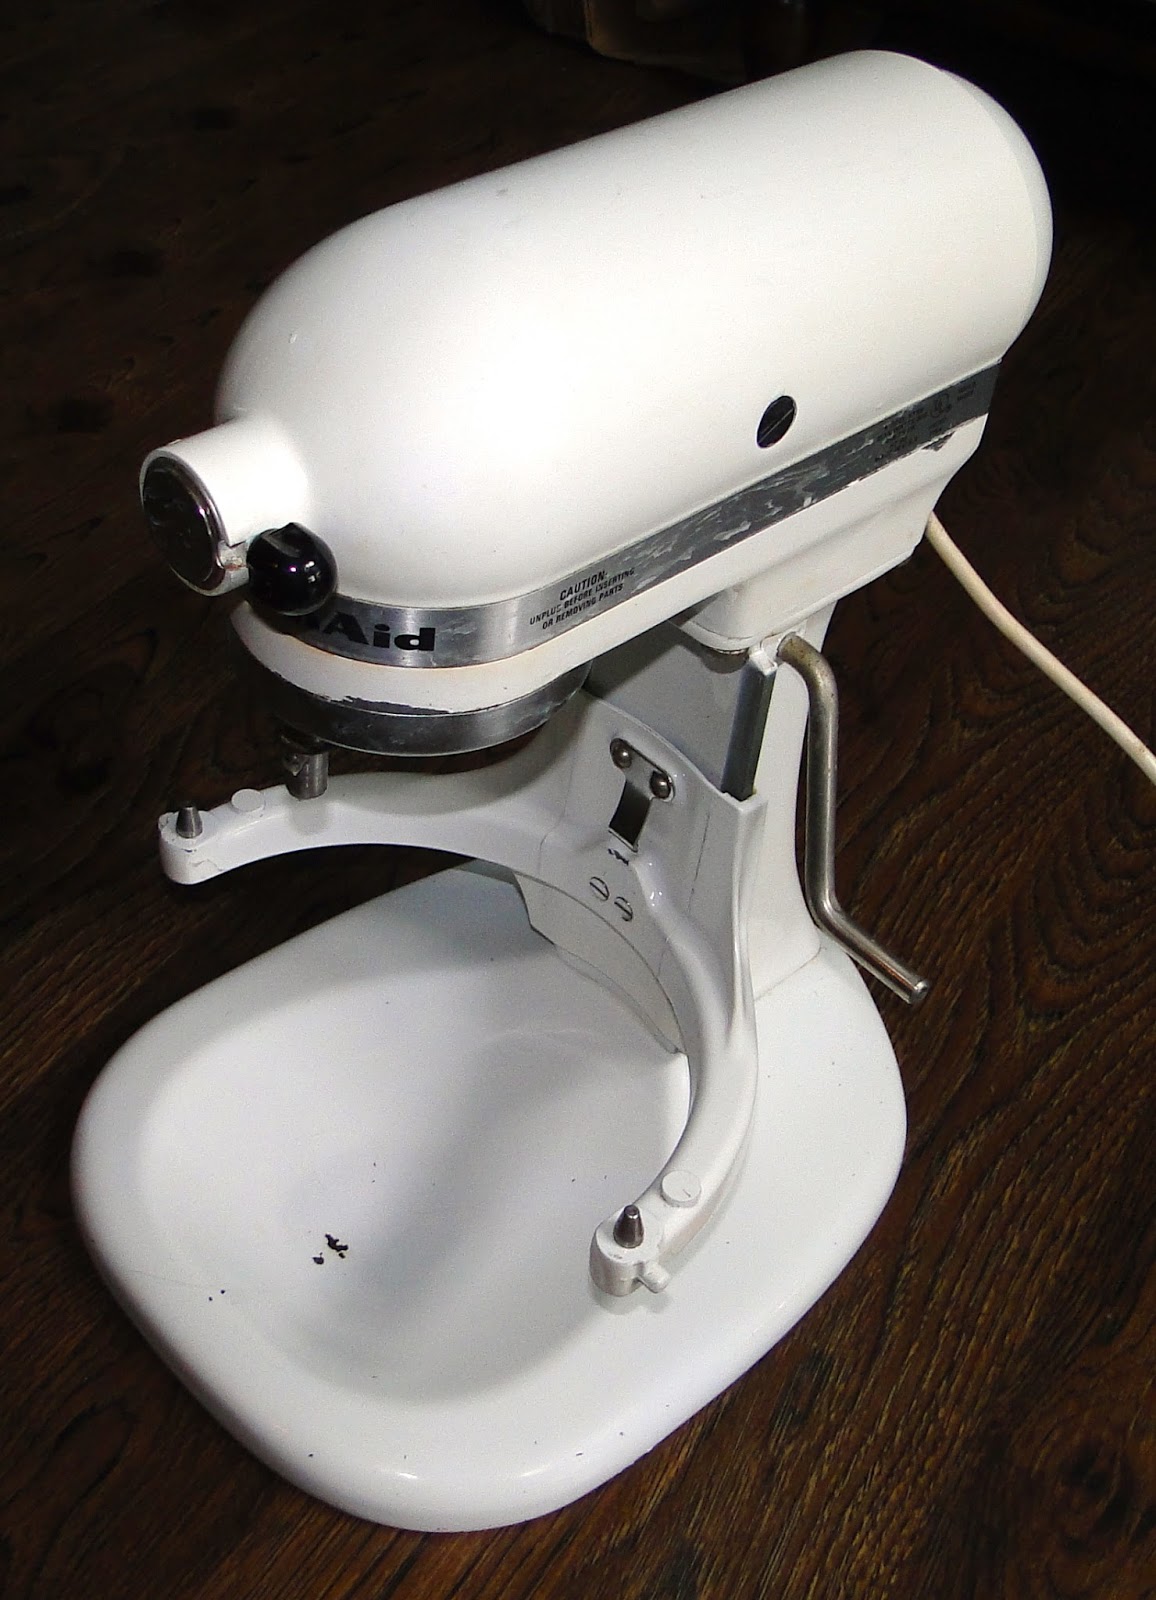
Before...

Our kitty enjoyed to project too. When we moved down to the garage for the sanding part, he pawed at the door frantically until we let him in on the fun.
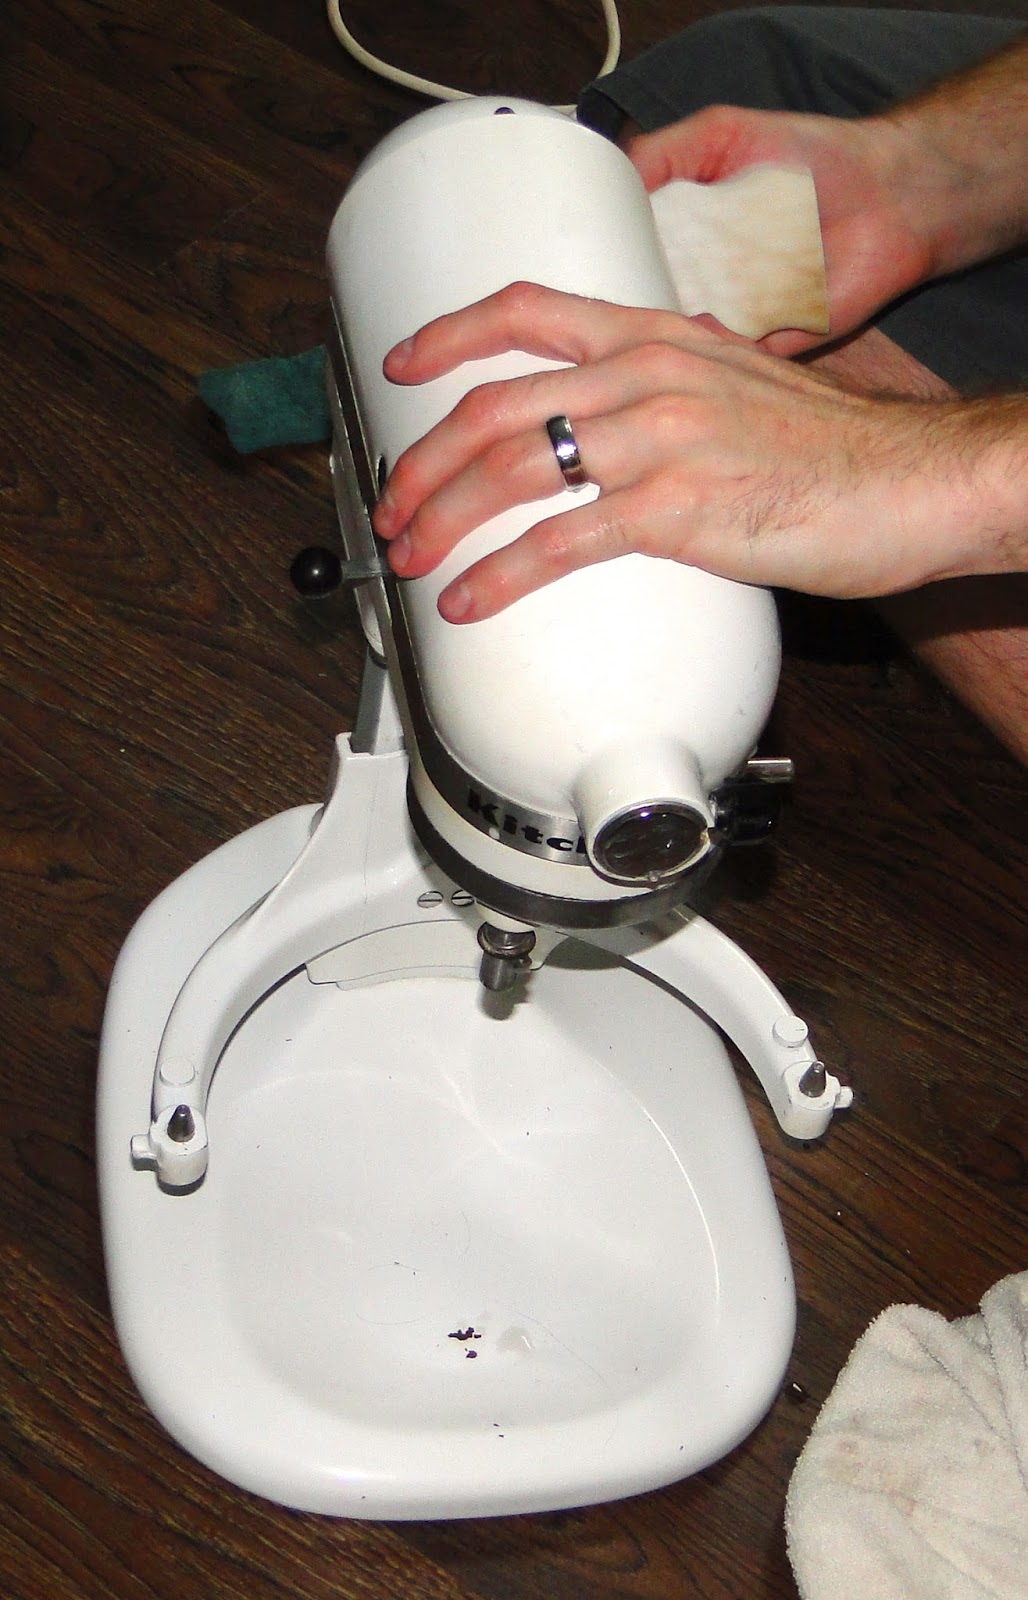
My OCD husband spent a good hour on cleaning the mixer thoroughly before we even got to sanding…
Unfortunately, I was bad and forgot to document the actual sanding and painting process. However, I will give you some insight as to how we did this.
We bought a few sanding blocks from Lowes (medium and fine grain) and went to town sanding down the mixer. Our goal was mainly to get off the glossiness of the paint, just to get to the layer of paint that would actually hold on the new spray paint.
After sanding everything down, we removed all of the hardware that could be removed. This included the band around the top that shows the KitchenAid logo and the speed dial. We also removed the back cover for the motor, since we saw Kelsey do that to hers.
Next, we went to town taping. We taped over everything that we didn't want to be painted copper with blue painters tape. We used a plastic sandwich bag and lots of tape to cover the motor completely and seal it from the spray paint.
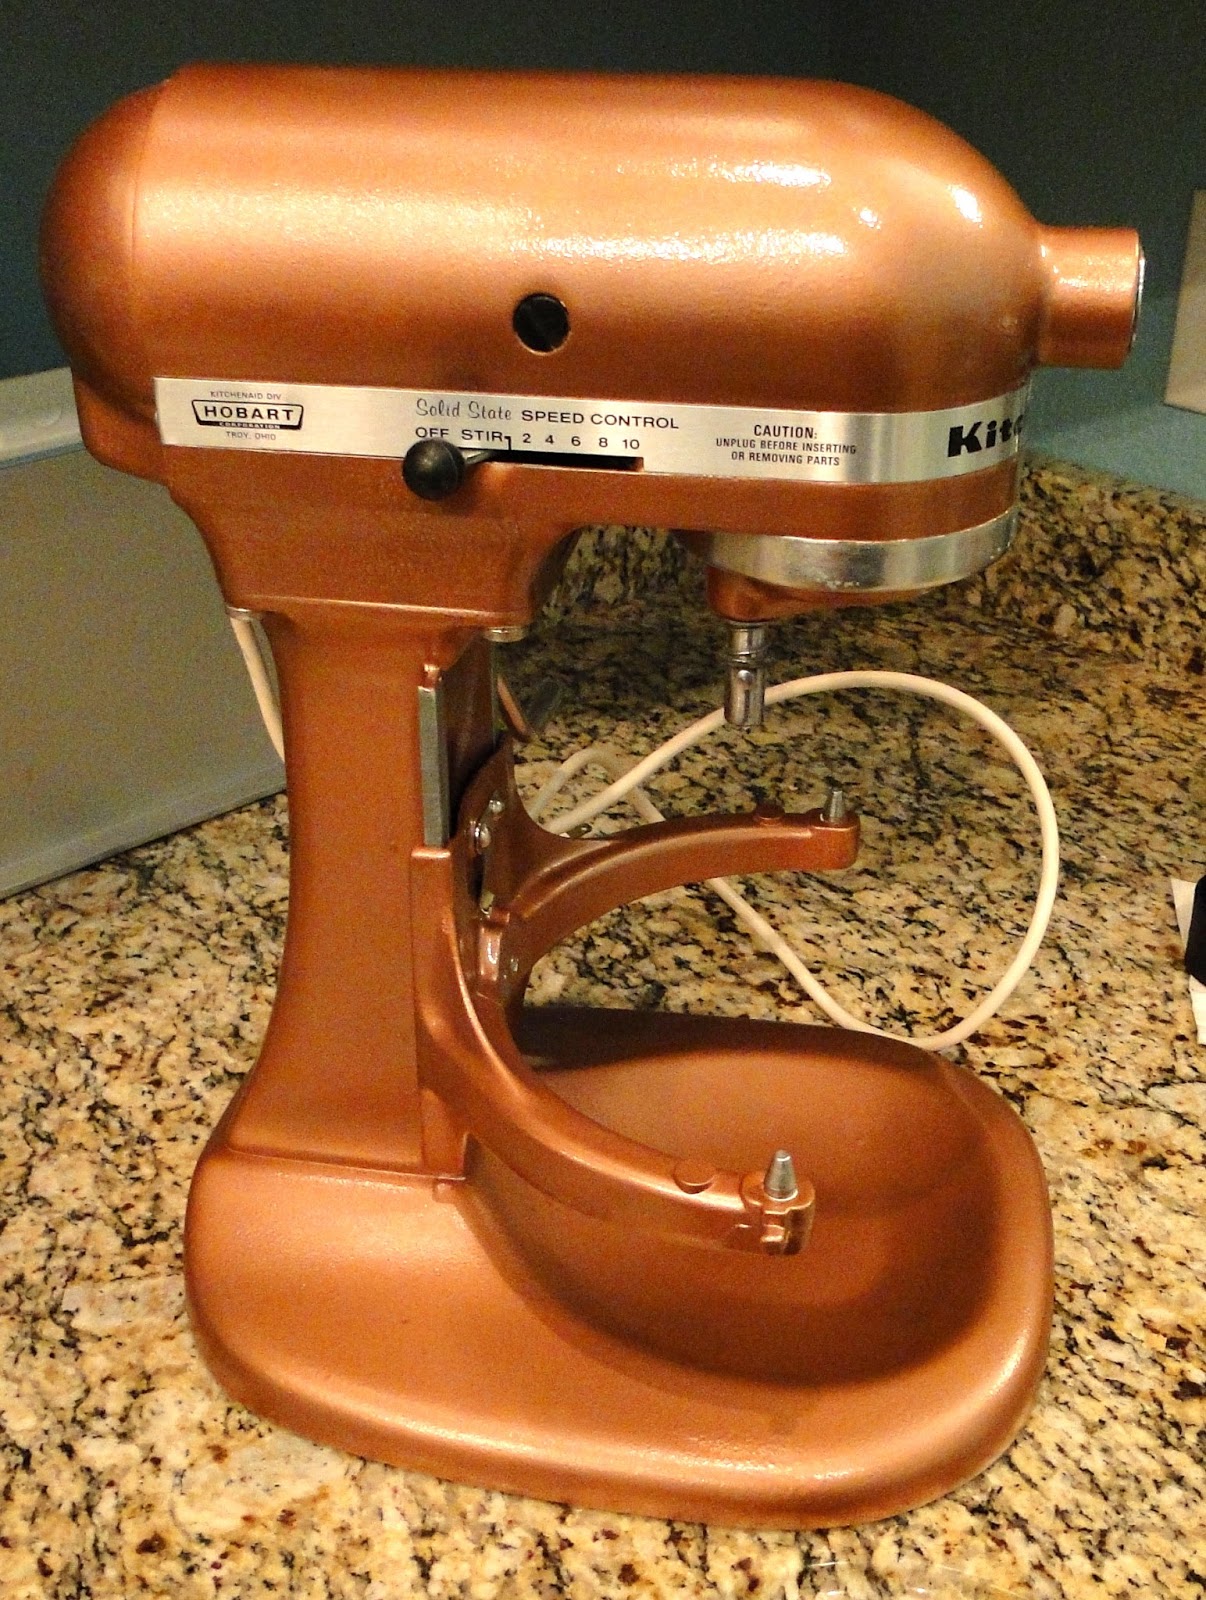
Then, it was painting time. (Be sure to put down lots of paper bags or plastic to shield the floor from the spray paint…it really does get everywhere.) We then spray painted our KitchenAid with Rustoleum Hammered Spray Paint in Copper Penny.
We sprayed on two coats according to the instructions, let it dry, then reveled in our masterpiece!


After!
On a scale of very easy to very hard, I would rate this project as medium difficulty. It is definitely a little time-consuming and you have to know how to sand, use a screwdriver, and have a little experience with spray painting. It involves a little bit of thinking outside of the box, especially if you want to make sure you cover everything you want and don't cover the things you don't want to with spray paint. My advice is just to be very tedious with your taping. That, I found was the most important get a clean look to the job.

Have you done a project like this?
Would you think about doing something like this?
No comments:
Post a Comment